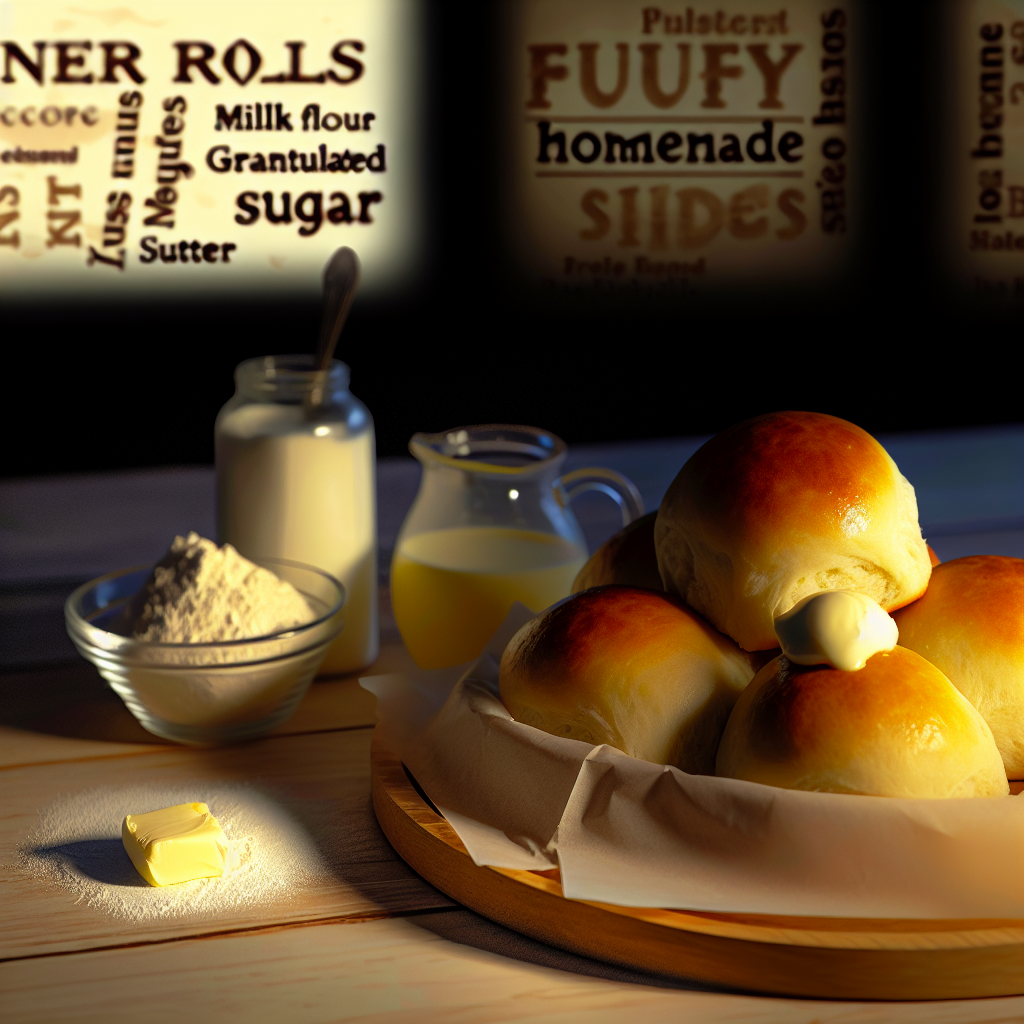
Dinner rolls recipe for fluffy homemade sides: These delightful rolls will elevate any meal and are perfect for gatherings or weeknight dinners.
Table of Contents
- Ingredients for Fluffy Dinner Rolls
- Preparation Steps
- Baking the Rolls
- Tips for Perfect Rolls
- Storing and Reheating Dinner Rolls
- Variations and Add-Ons
- FAQ
- Conclusion
Ingredients for Fluffy Dinner Rolls
Let’s kick things off with the ingredients you’ll need. A great dinner rolls recipe for fluffy homemade sides starts with some basic pantry staples and a few fresh items. Here’s what you’ll need:
- 4 cups all-purpose flour: This provides the structure for our rolls.
- 2 tablespoon granulated sugar: Sweetness is essential, both for flavor and to feed the yeast.
- 1 packet (2 ¼ teaspoons) active dry yeast: The magic ingredient that makes our rolls rise and become fluffy.
- 1 teaspoon salt: Essential for flavor; consider using kosher salt for best results.
- 1 cup warm milk (110°F to 115°F): Warm milk helps activate the yeast.
- ¼ cup unsalted butter, melted: Buttery flavor makes everything better.
- 1 large egg: Acts as a binding agent, contributing to the fluffiness and richness of the rolls.
Oh, and before we dive into the preparation, make sure all your ingredients are at room temperature for best results!
Preparation Steps
Now that we have our ingredients ready, let’s get to the fun part: the preparation! Making these fluffy dinner rolls is easier than you might think.
-
Activate the Yeast: In a small bowl, combine the warm milk, sugar, and yeast. Give it a gentle stir and let it sit for about 5-10 minutes until it becomes frothy. This means your yeast is alive and ready to help make your rolls rise.
-
Mix Dry Ingredients: In a large mixing bowl, whisk together the flour and salt. This step helps to evenly distribute the salt, which is crucial for flavor.
-
Combine Everything: Make a well in the center of the flour mixture. Pour in the frothy yeast mixture, melted butter, and egg. Using a wooden spoon or your hands, mix until the dough begins to come together. It might look a bit messy, but don’t worry!
-
Knead the Dough: Transfer the dough onto a lightly floured surface. Knead it for about 8-10 minutes until it is smooth and elastic. This step is essential for gluten development, which gives the rolls their structure.
-
First Rise: Place the dough in a greased bowl, cover it with a damp cloth or plastic wrap, and let it rise in a warm place until it doubles in size, about 1-2 hours. Patience is key here!
Baking the Rolls
Once your dough has doubled, it’s time to shape and bake those beautiful rolls.
-
Shape the Rolls: Punch down the dough gently to release any air bubbles. Divide the dough into 12 equal pieces (or more if you want smaller rolls) and shape each piece into a ball. You can do this by tucking the edges under to create a smooth surface.
-
Add to Baking Dish: Place the shaped dough balls into a greased 9×13-inch baking dish, leaving a bit of space between them. This will allow them to expand and become fluffy while baking.
-
Second Rise: Cover the dish again and let the rolls rise until they double in size again, about 30-45 minutes.
-
Preheat Oven: While your rolls are rising, preheat your oven to 350°F (175°C). A hot oven is crucial for achieving that perfect golden-brown exterior.
-
Bake: Once risen, bake the rolls for about 20-25 minutes or until they are golden brown and sound hollow when tapped on the bottom.
-
Butter Finish: As soon as they come out of the oven, brush the tops with melted butter. This gives them that glossy, mouthwatering finish.
-
Cool Slightly: Allow the rolls to cool in the pan for about 10 minutes, then transfer them to a wire rack. This helps prevent them from getting soggy.
Tips for Perfect Rolls
Now, let’s make sure your rolls are perfect with some handy tips!
-
Temperature Matters: For best results, ensure your milk is warm but not hot, as temperatures above 120°F may kill the yeast.
-
Kneading Technique: You want to knead until the dough is elastic but not sticky. If your dough is too sticky, sprinkle a little extra flour while kneading.
-
Rising Time: The rising time can vary based on temperature and humidity. If you find that it’s taking longer, be patient; sometimes yeast just needs a little extra love!
-
Use Fresh Yeast: Expired yeast will lead to flat rolls, so always check the date on your yeast packet.
-
Experiment with Flavors: While this recipe is classic, feel free to incorporate herbs, cheese, or even garlic to give your rolls an extra kick.
Storing and Reheating Dinner Rolls
Let’s talk about what to do with any leftover rolls. If you manage to have any!
-
Room Temperature: Allow the rolls to cool completely before storing them in an airtight container at room temperature. They should last for about 2-3 days.
-
Freezing: If you want to store them for longer, consider freezing. Wrap them tightly in plastic wrap and then place them in a freezer bag. They can last for up to 3 months.
-
Reheating: When it’s time to enjoy your frozen rolls, remove them from the freezer and let them thaw overnight in the fridge. Reheat them in the oven at 350°F for about 10-15 minutes.
For more detailed information on proper storage techniques, you might find this Healthline article helpful.
Variations and Add-Ons
If you want to switch things up, here are some variations and fun ideas to take your dinner rolls to the next level.
-
Herbed Rolls: Add a tablespoon of dried herbs like rosemary, thyme, or Italian seasoning to the dry ingredients for an aromatic twist.
-
Cheddar Rolls: Mix in 1 cup of shredded cheddar cheese into the dough for cheesy goodness.
-
Garlic Butter Rolls: Brush the rolls with garlic butter (made from garlic and melted butter) right before baking for a savory flavor.
-
Whole Wheat Rolls: Substitute half of the all-purpose flour with whole wheat flour for a healthier twist.
For more inspiration, check out some of my favorite dinner recipes that pair wonderfully with these rolls.
FAQ
1. Can I make dinner rolls without dairy?
Absolutely! You can substitute the milk with almond milk or any other non-dairy milk and use dairy-free butter.
2. How can I tell if my yeast is still active?
Mix the yeast with warm water and sugar. If it foams up within 5-10 minutes, it’s good to go!
3. Can I prepare the dough in advance?
Yes! You can shape the rolls and place them in the fridge for up to 24 hours before baking. Just allow extra time for the second rise.
4. Why are my rolls dense?
This could be due to using old yeast, not kneading enough, or potentially over-proofing the dough. Make sure to follow the steps carefully for best results.
5. What can I serve with dinner rolls?
Dinner rolls pair well with soups, salads, and main courses like roasted chicken or beef stew. They’re also perfect for mopping up sauces!
Conclusion
And there you have it—a delightful Dinner rolls recipe for fluffy homemade sides that will not only impress your family but also elevate any meal on your table.
Now it’s time to gather your ingredients and make those rolls! If you enjoyed this article, feel free to share it with friends and family. They’ll thank you later when they savor these fluffy, mouthwatering rolls! Happy baking!